PergolAdventure
This was an odd project for me because normally I like to plan everything out and have a very clear idea of what I’m going to do before I get started. In this case I had the idea in my head, but had never really put much thought into it until the Saturday it all came together.
I headed up to Home Depot that day at about 1:30 in the afternoon having a good idea of the parts I needed but a bad idea on the vehicle necessary to get those parts home. My first mistake. I don’t know why, but I thought I could just have them sticking out of the back of our SUV, but with a couple 16 foot boards having half of them hanging out the back was going to be a bad idea. Fortunately for me, I happened upon a friend who was picking up some of the exact same lumber I was and he had the foresight to bring a trailer with him so my lumber was able to hitch-hike home with him.

Here is my part list (getting a little technical) all lumber is pressure treated:
- 2 – 12′ ( ‘ = foot) 6×6
- 4 – 16′ 2×6
- 4 – 6′ 2×6
- 4 – 10″ ( ” = inch) 3/8″ Carraige Bolts w/ washers and nuts
- 2 – 8″ 3/8″ Eye Bolts w/ washers and nuts
- 2 Bags Quikrete
I toyed with the idea of using cedar for the top and then cladding the 2x6s in it and probably would have, but Home Depot only had cedar fence boards so it didn’t happen.
By the time I finished figuring out my exact plan while standing in front of rows of lumber and got home it was about 3:30. My first step was to dig some holes. I wanted my finished height to be in the 8 foot area (varies per pole since the ground isn’t level), but after digging a 3′ deep hole I figured cutting a foot off the posts would be easier then digging another foot (4′ is deeper than you think it is, but by all means, try digging one for yourself if you don’t believe me). After the holes were dug it was a simply thing to drop in the posts and pour a bag of Quikrete per hole. Pour it in dry and then wet it once it’s in the hole. About this time my friend Jason had shown up and helped me get the posts level. That is really a two man job and it is also where I made my second mistake.

We were able to get the post perfect level to each other and perpendicular to the ground. However, what I didn’t account for until it was too late was getting them perfectly aligned with each other so the sides were both parallel. This caused a bit of a problem later on, but that’s getting ahead of things.
After we got the posts up we started cutting up the rest of the lumber. With the boards I had and the look we wanted I decided to go for an angle that was 1 1/2′ down from the top of the 2×6’s and 7′ in from the end on both ends. So we ended up cutting off a triangular section that was roughly 4 1/2′ x 7′. Rinse and repeat 16 times for each end of the 8 boards we were using.
Once the boards were all cut it was time to start hanging them. The 4 6′ boards get attached on either side of the vertical posts perpendicular to the direction the pergola is facing. The way I went about attaching could certainly have been better, but I basically had Jason hold up the boards and then screwed them into the vertical posts with 3′ deck screws. Once they were up I drilled two 3/8″ holes through all three boards and attached them all together with the carriage bolts. You’ll certainly need a long auger bit for this kind of thing.
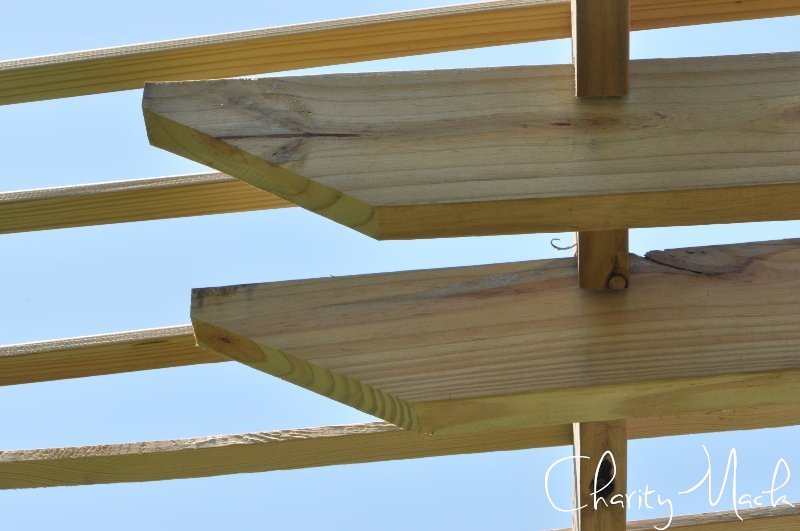
With the supports all in place we’re ready to put up the 16′ boards to span the length of the pergola. This was where I made my third mistake. I wanted to notch the boards so they fit over the top of the support boards. To do this I took measurements and cut the boards. This caused a problem because once you get one of the boards up and have to tweak the alignment to cover for the slightly misaligned posts mentioned earlier, it throws off the measurements for the other boards. What resulted was me having to widen the notches on one end of the boards. What I should have done was actually put them up and marked and cut them individually in place so they would have fit perfectly.
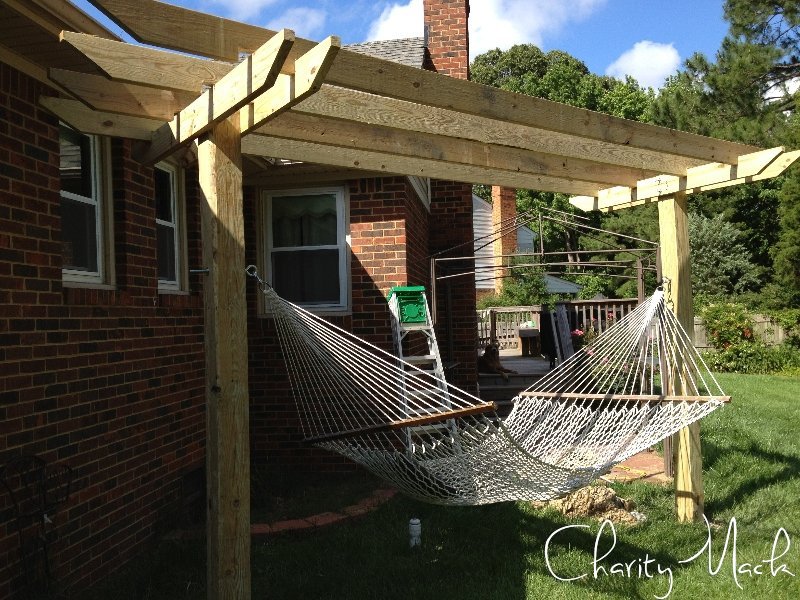
After they were up I screwed a few screws down through the boards to help hold them up vertically. Optionally, you can add some slats across the top for a little more shade and to get something for vines to grow on. I used some pieces of pressure treated 1×2. The last step is to drill your holes for the hammock eye hooks. Nothing tricky about this step, just make sure they are high enough for your hammock to not end up on the ground when you sit on it.
So to recap:
Do:
- Make sure you have a vehicle large enough to transport everything
- Pour your concrete in dry and then wet it
- Have someone to help you
Don’t:
- Forget to align the posts to each other
- Pre-cut the notches
- Drill your hammock holes too low
4 Replies to “PergolAdventure”
Priceless! Great job on the pergola and the blog!
For not planning ahead and just thinking about it and picturing it, we think
you did a great job on it!! Good looking Pergola and interesting blog!
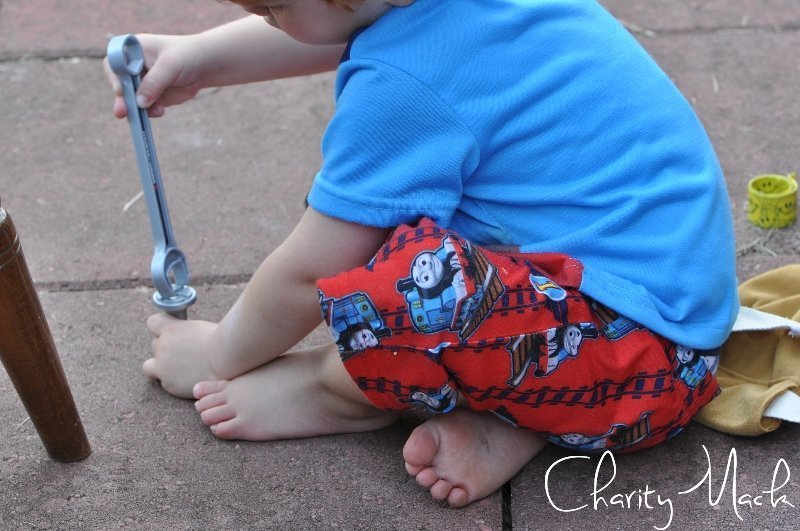
The pictures are precious! Ryder looks like he isn’t sure his tool belt is
on right? He is just too handsome!
Nice work brother!! Especially with an extremely unskilled and unreliable helper…can’t wait to take a swing in the hammock and see if it passes the Fiori test…
I was never worried. A great architect has it all planned in his head.
And yes Fiori, I read too.